


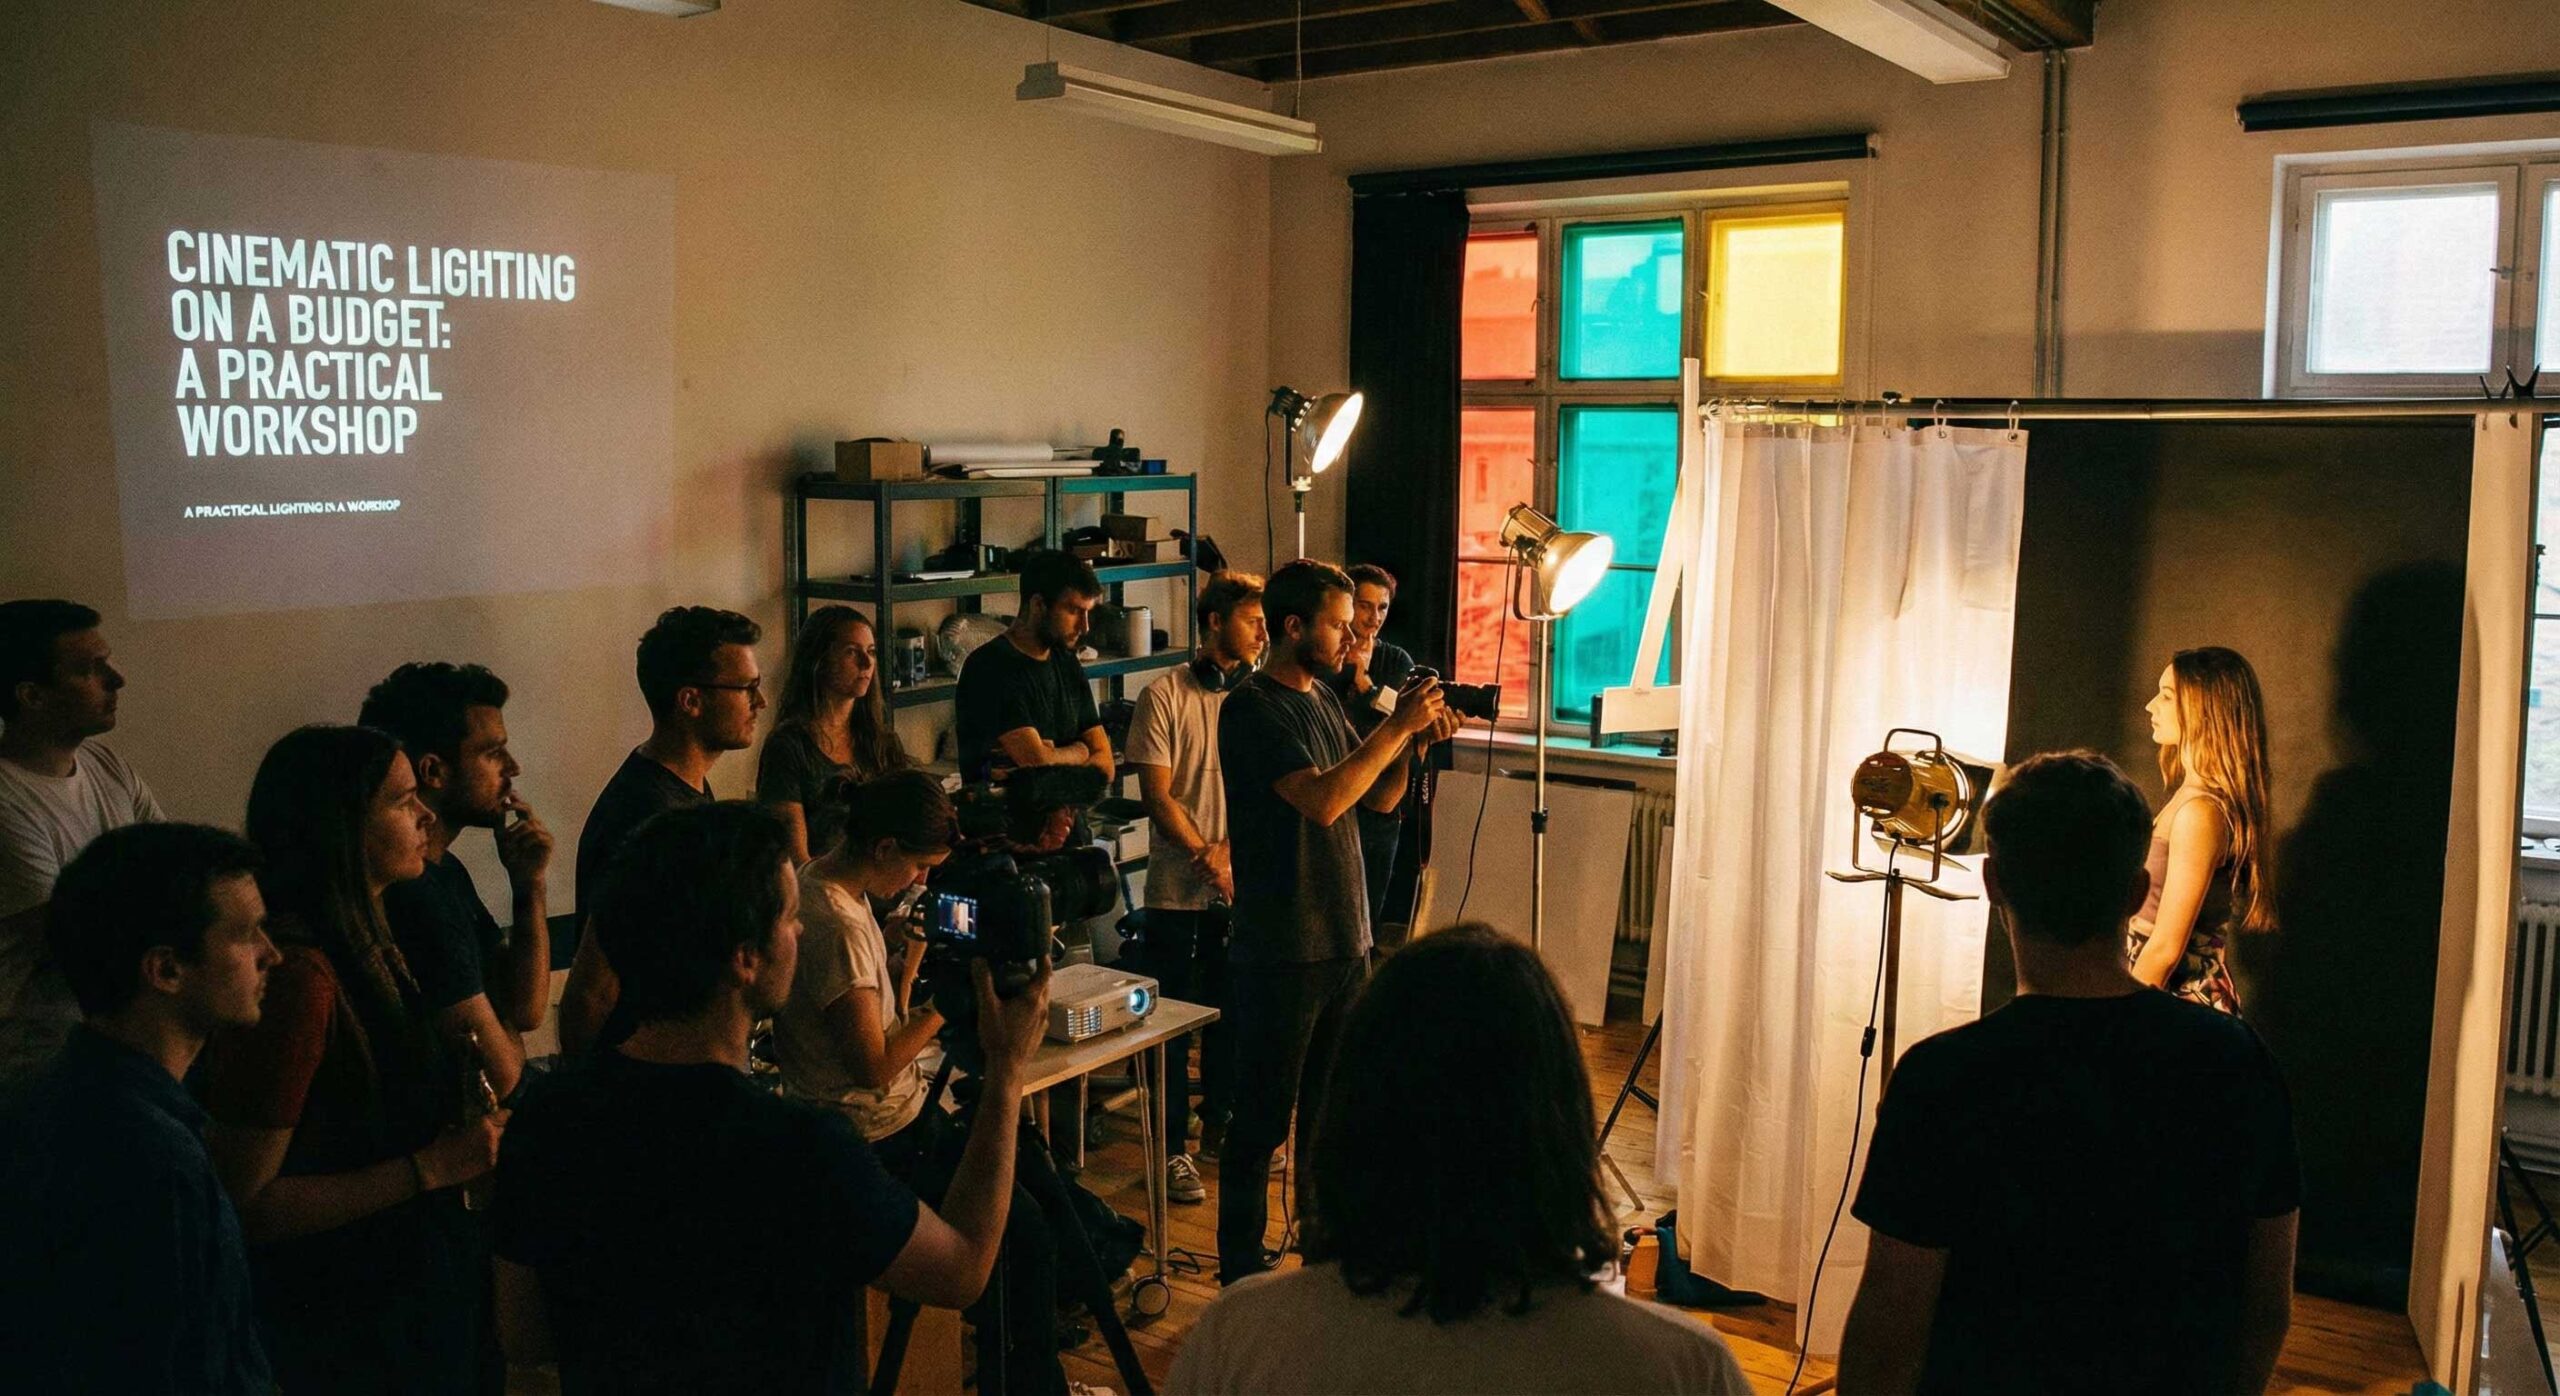
Welcome to Your Lighting Masterclass
Forget everything you’ve heard about needing $10,000 in equipment to create cinematic visuals. This isn’t theory. This is a hands-on workshop where you’ll learn the exact techniques Hollywood cinematographers use—adapted for budgets under $600.
By the end of this guide, you’ll understand why a $300 light positioned correctly beats a $3,000 light positioned poorly. Let’s get to work.
Workshop Setup: What You Need Today
Grab whatever lighting you currently own. Seriously. One LED panel? Perfect. A desk lamp and aluminum foil? We can work with that. This workshop teaches techniques first, equipment second.
Minimum Requirements:
- One controllable light source (LED panel, work light, even a bright lamp)
- Something to diffuse light (bedsheet, shower curtain, white t-shirt)
- Something reflective (cardboard wrapped in foil, white poster board)
- Your camera or phone
- A subject (yourself, a product, anything)
Ready? Let’s build your first cinematic shot.
Exercise 1: The Single-Light Setup That Changes Everything
Target: Dramatic portrait with depth and mood
Time Required: 15 minutes
Difficulty: Beginner
Step 1: Position Your Subject
Place your subject 6 feet from a plain wall. Not next to the wall—6 feet away. This separation is crucial for what comes next.
Why it matters: Space between subject and background prevents your light from spilling onto the background, giving you control over both separately.
Step 2: The Rembrandt Triangle
Position your single light 45 degrees to the side and 45 degrees up from your subject’s face. You’re looking for a small triangle of light under their eye on the shadowed side.
Visual Check: If you see the triangle, congratulations—you just recreated a technique Rembrandt perfected 400 years ago. Still used in every Hollywood production today.
Troubleshooting:
- Triangle too big? Move light higher
- No triangle? Move light forward
- Harsh shadows? Add diffusion (we’ll cover this in Step 4)
Step 3: The “Why Am I Seeing This?” Test
Look at your frame. Can you see the background clearly? If yes, it’s too bright. Cinematic lighting creates separation between subject and background through controlled darkness.
The Fix: Move your light closer to your subject, away from the background. The light falloff creates natural separation.
Step 4: Add Softness (The Magic Ingredient)
Hang a white bedsheet between your light and subject, about 2 feet from the light. Watch what happens—the harsh shadows disappear, replaced by gradual transitions.
What You Just Did: Created a 3×6 foot softbox for $0. Professional cinematographers pay $300 for this exact effect.
Step 5: Control the Shadows
Take your white poster board or foil-covered cardboard. Position it opposite your main light, bouncing light back into the shadows.
Experiment: Move it closer (lighter shadows) or further (deeper shadows). You now control the mood of your shot. Close = happy, friendly. Far = dramatic, mysterious.
Check Your Results: You should now have a cinematic portrait with:
- Subject clearly separated from background
- Soft, directional light creating dimension
- Controlled shadows adding mood
- Professional depth despite using basic equipment
Exercise 2: The Two-Light “Hollywood” Setup
Target: Professional interview lighting
Time Required: 25 minutes
Difficulty: Intermediate
The Reality Check
If you only have one light, that’s fine—skip to Exercise 3. This exercise teaches what to do when you add a second light. Don’t buy equipment to follow a tutorial. Follow tutorials that match your equipment.
Light #1: Your Key Light (Primary Source)
Same as Exercise 1—45/45 position with diffusion. This does 70% of your lighting work.
Light #2: Your Fill Light (Shadow Control)
Critical Mistake Everyone Makes: Adding a second light at full power. Don’t. Your fill should be 30-50% the brightness of your key.
Position: Opposite side from key, lower angle (around eye level), slightly behind camera.
Power Settings:
- Key light: 100%
- Fill light: 30-40%
Why These Numbers: Your brain expects light to come primarily from one direction (like the sun). Two equally bright lights create flat, unnatural lighting that screams “amateur.”
The Subtle Technique That Separates Pros
Add a slight color temperature difference:
- Key light: 4800K (slightly warm)
- Fill light: 5400K (slightly cool)
The Effect: Your subject gains three-dimensional depth. The warm key feels like natural sunlight. The cool fill adds subtle separation without being noticeable.
If You Can’t Control Temperature: Skip this. Better to match temperatures perfectly than create obvious mismatches.
Testing Your Setup
Turn off one light at a time. Your key should create the mood. Your fill should just open up the shadows slightly. If turning off your fill makes almost no difference, it’s too weak. If it makes a huge difference, it’s too strong.
Exercise 3: Color Temperature as Storytelling
Target: Using light color to create mood
Time: 15 minutes | Difficulty: Intermediate
The Emotional Temperature Scale
3200K: Sunset, intimacy, nostalgia
4500K: Indoor comfort, trust
5600K: Reality, documentation
6500K+: Clinical, technological, isolation
Practical Application
Romantic scene? 3200K. Corporate interview? 4800K. Tech review? 5600K. Thriller? 6000K+.
Advanced Move: Mix temperatures—warm key (4000K) with cool background (6500K) creates subconscious depth.
Exercise 4: The “Golden Hour” Simulation Indoors
Target: Recreating sunset light
Time: 30 minutes | Difficulty: Advanced
What Makes Golden Hour Special
It’s not just warmth—it’s low angle, warm temperature (2800-3200K), soft quality, and directional shadows combined.
Building Your Indoor Golden Hour
- Set light to warmest setting (3200K or lower)
- Position light low—no higher than subject’s chest
- Add diffusion, but keep it directional
- Place subject near a covered window for composition
- Use reflector to simulate environmental bounce
The Secret Sauce
Create color gradient—warmer highlights, cooler shadows:
- Main light: 3000K
- Fill reflector: 4500K+
Test: Does it feel like sunset? If it just feels like changed color temperature, adjust angle lower and add more direction.
Exercise 5: Cinematic Shadows Are Intentional
Target: Using darkness creatively
Time: 20 minutes | Difficulty: Intermediate
The Underexposure Principle
Cinematic lighting decides what to show and what to hide. Light only half your subject’s face—let the other half fall into shadow for immediate drama.
The Negative Fill Technique
Add darkness instead of light. Position black cloth opposite your light to absorb reflections, deepening shadows.
When to Use: Music videos, dramatic interviews, fashion content.
Avoid for: Product reviews, beauty content, corporate videos.
Budget Breakdown: Achieving Each Exercise
Exercises 1-2 (One to Two Lights): $50-600
- DIY Single: Work light ($30) + bedsheet + cardboard = $50
- Budget Single: LED panel ($150) + diffusion = $180
- Two Light Budget: Two LED panels + stands ($400)
- Two Light Quality: Main bi-color LED + smaller panel + modifiers = $550
Exercises 3-5 (Temperature Control & Advanced): Requires bi-color LEDs
- Entry: Single bi-color panel ($200) + accessories = $250
- Professional: Two bi-color panels ($500) + full kit = $600
Common Failures and Fixes
“My Cinematic Lighting Looks Muddy”
Problem: Too much overlapping light. Fix: Each light needs a clear purpose. Remove any light you can’t justify.
“Subject Is Too Dark”
Problem: Confusing exposure with lighting mood. Fix: Increase ISO or open aperture. Cinematic lighting needs contrast ratio, not brightness.
“Shadows Too Harsh”
Problem: Hard light without diffusion. Fix: Make light source larger or move softbox closer.
“Good in Stills, Weird in Video”
Problem: Flickering or color shift. Fix: Use flicker-free LEDs. This is where quality matters.
The Mindset Shift Required
Cinematic lighting isn’t about replicating what you see. It’s about creating what you want audiences to feel.
Film Principle: Every light has a motivation. Where is light coming from in this scene? A window? A lamp? The setting sun? Your artificial lights should match those natural sources.
The Test: Could someone watching your video point to where the light is “coming from” naturally? If not, your lighting feels unmotivated and artificial.
Your 30-Day Progression Plan
Week 1: Master Exercise 1—practice 45/45 position, experiment with diffusion materials, test different distances.
Week 2: Add complexity with Exercise 2. Study film scenes you love and identify light positions.
Week 3: Practice Exercises 3-4—different temperatures, mixing temperatures, golden hour simulation.
Week 4: Exercise 5—intentional shadows. Combine all techniques in a short video project.
The Truth About “Professional” Lighting
After teaching these workshops to 300+ creators, here’s what I’ve learned: The difference between amateur and professional lighting isn’t equipment—it’s intention.
Amateurs try to eliminate all shadows. Professionals sculpt with shadows.
Amateurs buy more lights. Professionals master one light first.
Amateurs copy setups. Professionals understand principles.
You now have the principles. The equipment is just the tool to execute your vision.
Your Next Steps
Don’t read another lighting tutorial until you’ve practiced these six exercises. Seriously. Close this article, grab your lights (or lamps), and work through Exercise 1 right now.
Cinematic lighting isn’t something you learn—it’s something you practice until your hands know where to position lights before your brain finishes thinking about it.
Workshop Complete: You now understand more about lighting than 90% of content creators. The remaining 10%? They’re the ones actually practicing, not just reading.
Which group will you join?